

Branding Settings
Purpose: Customize the administrative title, upload global logos and favicons, and manage site identity settings.
Overview
The Branding Settings tab controls the default visual identity of your OwnPay administrative panel. It allows you to configure browser tab titles, upload logo assets for the dashboard, set custom favicon files, and adjust SEO keywords and taglines for search indexing.
Getting Here
To access the Branding Settings:
- Log in to the OwnPay admin dashboard as the super-administrator.
- Under the SYSTEM section in the left sidebar, click Settings.
- Under the Settings header tabs, click Branding.
Page Sections
The Branding Settings panel is split into two sections:
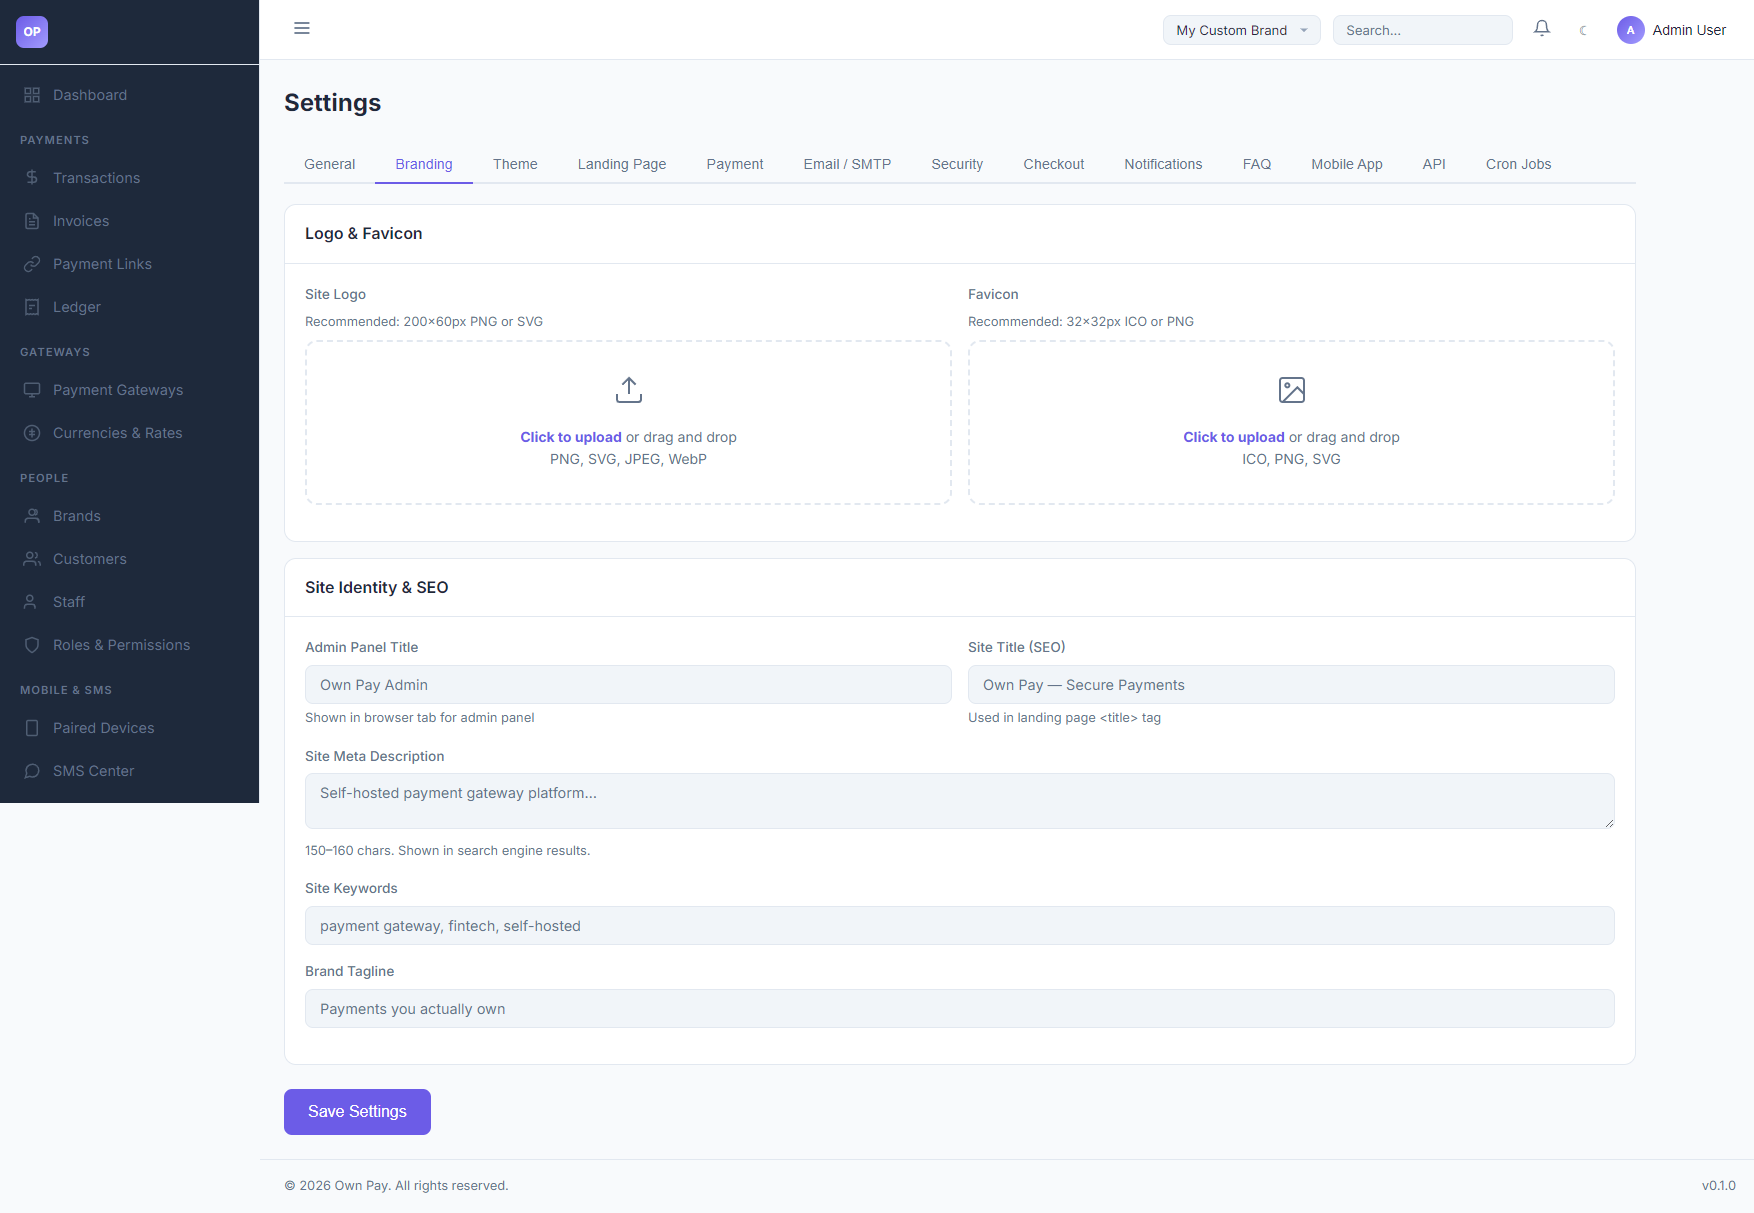
1. Logo & Favicon Uploads
- Site Logo: Upload a custom logo displayed in the header. Recommended:
200×60pxin PNG or SVG formats. - Favicon: Upload the browser address bar icon. Recommended:
32×32pxin ICO or PNG formats.
2. Site Identity & SEO
- Admin Panel Title: Sets the browser tab title text when viewing the administration dashboard.
- Site Title (SEO): Used in the
<title>tag on the public landing page. - Site Meta Description: Short descriptive summary (150-160 characters) shown under search results.
- Site Keywords: Comma-separated search keyword terms.
- Brand Tagline: Visual slogan shown on public pages.
Fields & Options Reference
Branding Fields Reference
| Setting Name | Input Type | Example / Format | Description |
|---|---|---|---|
| Site Logo | File Upload | PNG, SVG, JPEG, WebP | Main dashboard header visual brand logo. |
| Favicon | File Upload | ICO, PNG, SVG | Small icon shown in browser tab headers. |
| Admin Panel Title | Text Input | Own Pay Admin | Browser title for administrative views. |
| Site Title (SEO) | Text Input | Own Pay — Secure Payments | Browser title for public landing views. |
| Site Meta Description | Text Area | Self-hosted payment gateway... | Description shown in search engine results. |
| Site Keywords | Text Input | payment gateway, fintech | Meta keywords index. |
| Brand Tagline | Text Input | Payments you actually own | Visual brand tagline. |
Step-by-Step: How to Use This Page
Uploading a Custom Logo
- Navigate to SYSTEM → Settings → Branding.
- Click the Site Logo drag-and-drop file upload box.
- Select your brand logo file (e.g.
logo.png). - Click Save Settings in the footer to upload and apply the asset.
Adjusting SEO Metadata
- Scroll down to the Site Identity & SEO section.
- Update the Site Title (SEO) and Site Meta Description to describe your company.
- Click Save Settings.
Configuration Guide
- Logo Path Resolution:
- Globally configured branding assets are written to the database under the
brandinggroup key. - These values are automatically loaded across the admin panel unless a brand-specific context (with its own custom logo) overrides them.
- Globally configured branding assets are written to the database under the
Best Practices
- ✅ Do: Use transparent PNG or SVG vector files for the Site Logo to ensure it displays correctly in both light and dark display modes.
- ✅ Do: Keep the Site Meta Description between 150 and 160 characters to optimize search engine snippet previews.
- ❌ Don't: Upload large image files (e.g. over 1MB) for the logo or favicon, as they will slow down page load times.
Related Pages
- Landing Page Settings — Manage hero text and FAQ cards.
- Themes — Choose visual templates for checkouts.
- System Settings — General site configurations.